
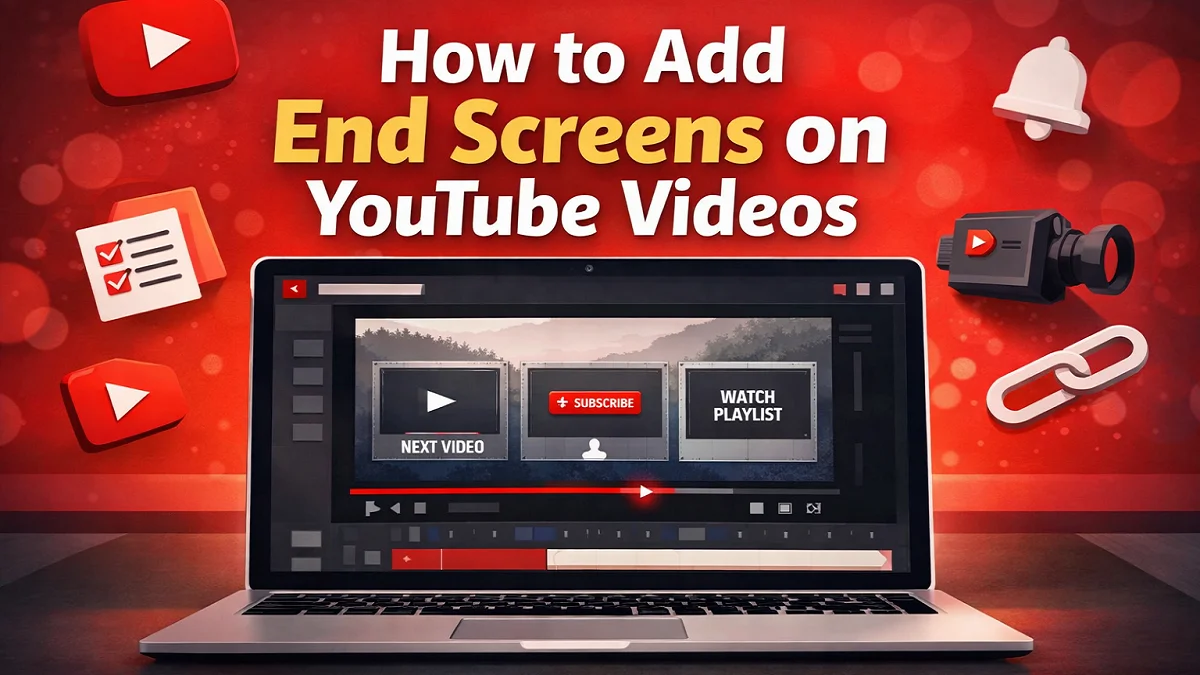
End Screens on YouTube help us guide viewers to the next action after a video ends. We can use them to promote another video, push a playlist, grow subscribers, highlight another channel, or send eligible viewers to an external website. According to YouTube, end screens appear in the last 5 to 20 seconds of a video, and the video must be at least 25 seconds long to use them.
For many creators, the final few seconds of a video are wasted. A viewer finishes watching, the content ends, and then they leave. That is exactly where end screens become valuable. They turn the end of a video into a retention and conversion opportunity.
In simple words, an end screen is not just a design feature. It is also a traffic tool. When we use it well, it can increase session time, improve channel growth, and direct viewers toward our most important content. YouTube allows creators to add these elements from YouTube Studio through the video Editor, and end screens can also be added during the upload flow.
What Are End Screens on YouTube?
End Screens on YouTube are interactive elements shown near the end of a video. Their purpose is to keep viewers engaged with more content or encourage a specific action.
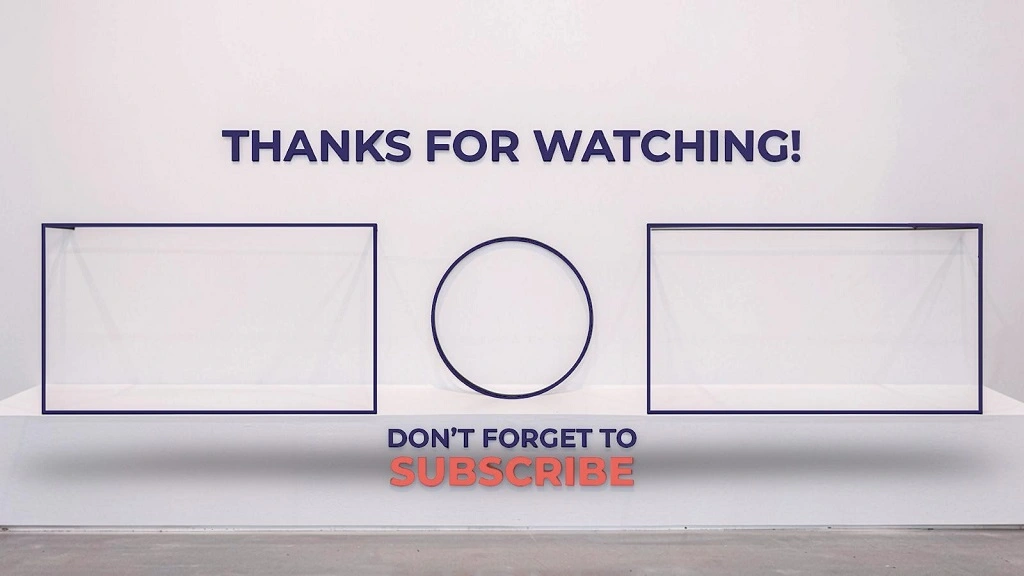
YouTube allows creators to add these types of end screen elements: video, playlist, subscribe button, another channel, and in some cases an external link for channels in the YouTube Partner Program. Standard 16:9 videos can have up to four end screen elements, while other aspect ratios may allow fewer.
Common end screen elements
- Video: Promote a specific video, latest upload, or “best for viewer”
- Playlist: Send viewers into a related playlist
- Subscribe: Encourage channel subscriptions
- Channel: Recommend another channel with a custom message
- Link: Send viewers to an approved external website if eligible through YouTube Partner Program rules
Why End Screens on YouTube Matter?
Many creators focus heavily on thumbnails, titles, and watch time. Those areas matter a lot, but the last seconds of a video also deserve attention.
A strong end screen can help us:
- Increase views on related videos
- Push viewers into a full playlist
- Improve session continuation
- Turn casual viewers into subscribers
- Support product, website, or brand goals when eligible
Let us say we publish a tutorial about starting a YouTube channel. At the end, instead of allowing the viewer to leave, we can direct them to our next video on thumbnails, titles, or monetization. That keeps the learning journey moving forward.
This is especially useful when we build topic clusters. One video answers the first question. The end screen answers the next likely question. That structure supports both viewer satisfaction and channel growth.
YouTube Requirements for Adding End Screens
Before we add End Screens on YouTube, we need to know the platform rules.
Basic requirements
| Requirement | Details |
|---|---|
| Minimum video length | Video must be at least 25 seconds long |
| End screen timing | Appears in the last 5 to 20 seconds |
| Standard element limit | Up to 4 elements on 16:9 videos |
| Editing location | YouTube Studio > Content > select video > Editor |
| Upload flow support | End screens can also be added while uploading |
These details are directly stated in YouTube’s help documentation.
Important limitations
YouTube also notes some restrictions that many creators overlook:
- End screens are not available for videos marked made for kids
- They are not available on 360 videos
- Other interactive elements like card teasers and video watermarks are suppressed during the end screen
- Viewers may also have the ability to hide end screens while watching
That means we should never rely only on end screens for our message. Our verbal call to action should still be clear inside the video itself.
How to Add End Screens on YouTube Videos Step by Step?
Now let us go through the actual process.
Step 1: Sign in to YouTube Studio
Open YouTube Studio and log in to the channel where the video is published. YouTube’s official workflow begins there.
Step 2: Open the Content Section
From the left-side menu, click Content. This shows the list of videos on the channel.
Step 3: Select the Video You Want to Edit
Click the title or thumbnail of the video where you want to add the end screen.
Choose a video that already has a strong topic connection to your target video or playlist. Relevance matters more than random promotion.
Step 4: Open the Editor
From the left menu inside that video, click Editor. YouTube specifically lists the Editor as the place where we can trim videos, add end screens, add audio tracks, and blur content.
Step 5: Click End Screen
Inside the Editor, choose End screen.
YouTube then gives us several options:
- We can apply a ready-made template.
- A single video can be added as a recommendation.
- A playlist may be placed to guide viewers to more content.
- The subscribe element helps us promote channel growth.
- Another channel can also be featured if needed.
- An external link may be added if the channel is eligible.
Step 6: Choose a Template or Add Elements Manually
Templates are useful for speed. They give us a pre-arranged layout with multiple elements that we can customize.
Manual placement is better when we want full control. That approach works well if the video already has space in the background for specific element positions.
Step 7: Adjust Timing and Placement
Move the end screen elements into the last portion of the video. Remember that end screens can run only in the final 5 to 20 seconds.
This part is important. Do not place clickable elements over important visuals, subtitles, or on-screen text. The screen should feel clean and easy to understand.
Step 8: Save Your Changes
Click Save once everything looks right. YouTube lists this as the final step in the process.
How to Add End Screens on YouTube While Uploading a Video
YouTube also allows creators to add end screens during the upload process. In the upload flow, the video elements section includes both cards and end screens.
This method is useful because it helps us finish optimization before the video goes live.
A practical workflow looks like this:
- Start by uploading the video.
- Then add the title and description.
- After that, set the thumbnail and audience settings.
- Next, add subtitles if they are available.
- If needed, place cards in relevant parts of the video.
- Before publishing, add the end screen.
- Finally, complete the checks and visibility settings.
That sequence reduces the chance of forgetting the end screen later.
Also read: Top 10 Educational YouTube Channels – Check it Out Now!
Best End Screen Strategy for More Views
Adding End Screens on YouTube is easy. Using them well is where the real advantage begins.
1. Match the next video to viewer intent
The best end screen does not send viewers anywhere random. It sends them to the next logical step.
For example:
| Current Video | Best End Screen Suggestion |
|---|---|
| How to create a YouTube channel | How to upload a video |
| Beginner camera setup | Best microphones for YouTube |
| How to make thumbnails | How to write YouTube titles |
| YouTube monetization guide | How to reach 4,000 watch hours |
This creates a content journey rather than a content dead end.
2. Use playlists when the topic has multiple parts
A playlist can be stronger than a single video when we want longer watch sessions.
If we have a tutorial series, course, or beginner roadmap, the playlist option often works better because viewers can keep watching without making another decision.
3. Use “best for viewer” when appropriate
YouTube allows us to feature a specific video, latest upload, or “best for viewer.” That last option lets YouTube recommend the video it believes fits that viewer best.
This can be useful when our library is large and audience paths vary.
4. Add a spoken call to action
Do not depend only on the clickable boxes.
We should also say something like:
“If you want the next step, watch the video on your screen now.”
That verbal instruction gives the viewer a reason to click.
5. Design the video ending for end screen space
Creators often add the end screen after editing but forget to leave visual room for it.
A better approach is to design the last 10 to 20 seconds in advance. Leave clear empty space on one side or both corners. Avoid placing faces, captions, or key graphics where YouTube elements will appear.
Also read: How to create YouTube Channel on Mobile Device or Computer?
Common Mistakes to Avoid
Many channels add end screens but still get poor results. The issue is usually strategy, not the feature itself.
Mistake 1: Promoting an unrelated video
If someone watches a guide on YouTube SEO, sending them to a random vlog or comedy clip can reduce clicks. Relevance should always come first.
Mistake 2: Ending the video too abruptly
When the content stops suddenly, viewers may leave before they notice the end screen. A smoother ending gives them time to react.
Mistake 3: Showing too many choices
YouTube may allow multiple elements, but more is not always better. Too many options can also divide attention.
In many cases, these focused combinations work best:
- One video + subscribe
- One playlist + subscribe
- One highly relevant video only
Mistake 4: Covering important visuals
If our subtitles, face, or final message sit behind the end screen elements, the ending feels messy. Plan the final frame during editing.
Mistake 5: Ignoring made-for-kids restrictions
YouTube states that end screens are not available for videos set as made for kids. So if the option is missing, that may be the reason.
Also read: How to Use YouTube Studio to Grow Your Channel?
End Screens vs Cards on YouTube
Many creators confuse cards and end screens. They are related, but they serve different purposes.
| Feature | End Screens | Cards |
|---|---|---|
| Timing | Final 5–20 seconds | Can appear during the video |
| Main goal | Keep viewers watching after the video | Direct attention during the video |
| Placement | End of the video | Various points inside the video |
| Best use | Next video, playlist, subscribe, links | Supporting related content mid-video |
YouTube’s help pages treat both as interactive video elements, but they appear in different parts of the viewer journey.
A strong strategy often uses both:
- Cards for mid-video support
- End screens for the final action
Also read: How to Avoid Copyright Claims on YouTube?
What to Put in Your End Screen?
The best choice depends on the goal of the video.
If the goal is more views
Use a highly related video or playlist.
If the goal is channel growth
Use subscribe plus a strong next video.
If the goal is a content series
Use a playlist.
If the goal is business traffic
Use an external link only if the channel is eligible and the website complies with YouTube policies.
Also read: How to Change My YouTube Channel Name? New Update 2026
Practical End Screens On YouTube Examples
Example 1: Tutorial channel
Video topic: How to create a YouTube channel
End screen: “How to upload your first YouTube video” + subscribe
Example 2: Cooking channel
Video topic: Chicken karahi recipe
End screen: “How to make naan at home” playlist
Example 3: Tech review channel
Video topic: Best budget mic for YouTube
End screen: “Best budget camera for beginners” + subscribe
Example 4: Education channel
Video topic: Algebra basics
End screen: Full math playlist
Each example works because the next suggestion feels natural.
Also read: How to Get More Subscribers on YouTube Fast?
How to Improve End Screen Click-Through Rate?
Adding the feature is only the beginning. We should also improve performance over time.
Use these practical tips
- Mention the next video before the ending starts
- Keep the final seconds visually simple
- Recommend only the most relevant content
- Test playlist versus single video
- Align the end screen with viewer intent
- Avoid weak or generic calls to action
A good end screen feels like guidance, not decoration.
Also read: How to Monetize YouTube Channel: Complete Beginner Guide
Troubleshooting: Why End Screens on YouTube May Not Work?
If we do not see the end screen option or it is not behaving as expected, these are the most common reasons:
- A video shorter than 25 seconds cannot use end screens.
- Content marked as made for kids does not support this feature.
- Certain formats, such as 360 videos, are not eligible.
- Some options, like external links, require additional eligibility.
- Viewer controls can also affect visibility, since people may hide end screens and YouTube may show them differently across devices.
When troubleshooting, we should first check the video length, audience setting, format, and feature eligibility.
Also read: How to make money from YouTube without making videos?
Final Thoughts on End Screens on YouTube
End Screens on YouTube are one of the simplest tools we can use to increase views, guide viewers, and also build stronger content journeys. They do not require advanced editing skills, yet they can have a meaningful impact on watch flow and subscriber growth.
The smartest approach is not to treat end screens as an afterthought. We should plan them while scripting, filming, and editing the video. That way, the ending feels intentional and the viewer clearly understands what to do next.
If we choose the right next video, keep the design clean, and match the recommendation to viewer intent, end screens can become one of the most effective conversion points on a YouTube channel.
Also read: How to Create a YouTube Playlist Easily: Complete Guide 2026
Leave a Reply